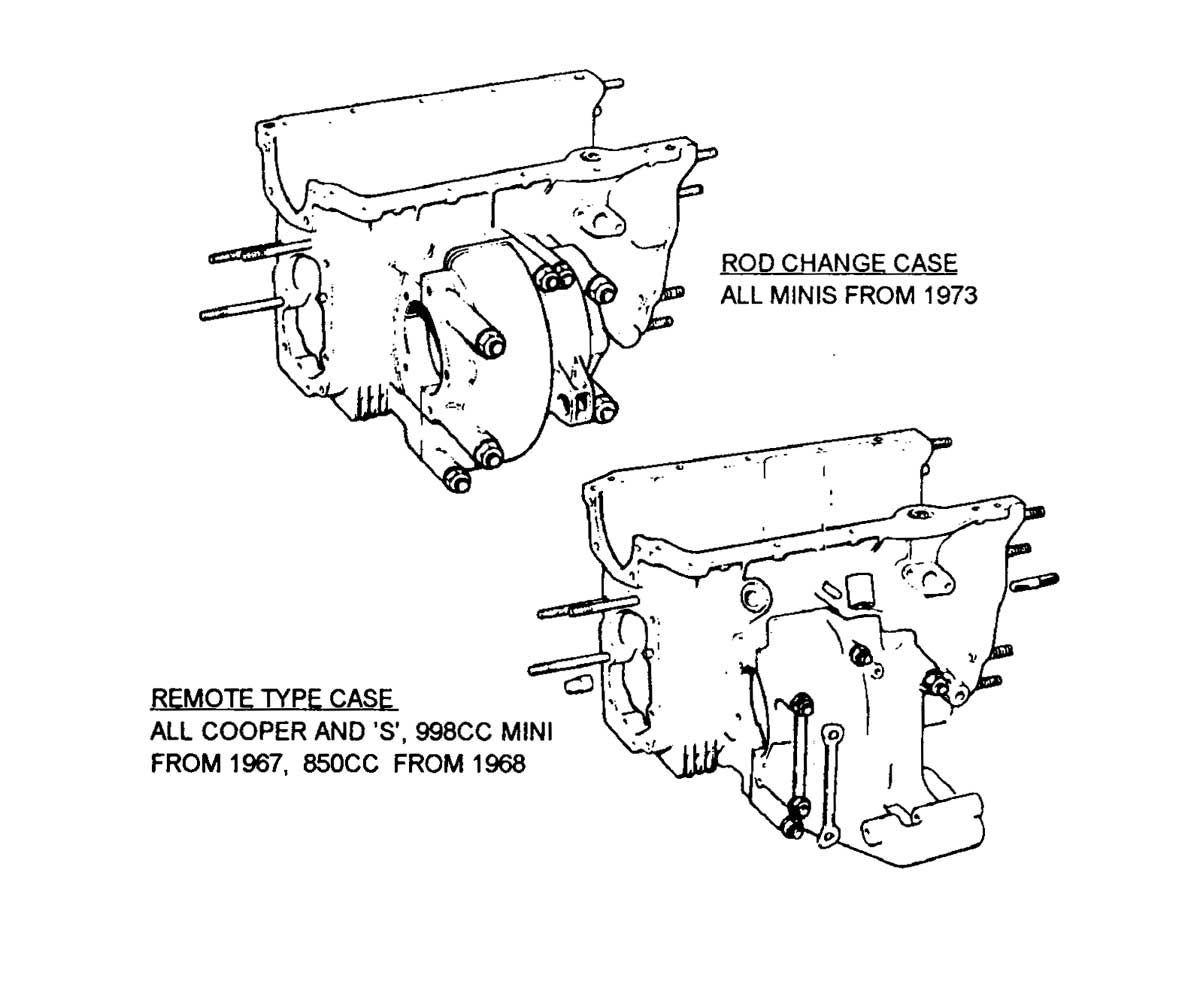
REMOTE CHANGE
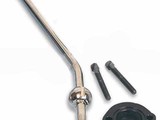
1. Remove original gearstick. Fit KAD Quickstick with original plastic collar, spring and spring retainer, grease well and refit with new spacer. Place flange downwards using longer 5/16" UNC capscrews.
ROD CHANGE
1. Remove original gearstick assembly and using molewrench, remove two dowels from top of diecast gearchange housing.
2. Fit aluminium bell to top of gearchange housing using two 5mm bolts provided. Ensure that the dowel which protrudes inwards is positioned on the right hand side as you sit in the drivers seat. The bolts will cut their own thread in the housing.
3. Use an angle grinder or offhand grinder to grind through the hardened surface of the original gearstick before cutting the gearstick between the half ball and the vulcanised rubber joint. This enables the spring and the white polypropylene cup to be removed from the original stick for use on your quickstick.
4. Grease the quickstick wherever necessary and refit using original parts.
You should not experience problems selecting gears, but if problems do occur, please check the following:-
1. That the plate at the base of the gearchange housing which prevents accidental selection of reverse is not impeding the movement of the quickstick. If this is the case, carefully remove metal from the base of the stick.
2. If the gear change rods have been disconnected from the gearbox, that the rod has become inverted.
3. In the case that a quickstick is fitted to a worn gearbox / gearchange mechanism and 1 & 2 do not apply, all is not lost. It may be necessary to alter the position of the black nylon ball. Please call KAD (01303 874082) if this is the case.
This design is protected by Unregistered Design Right.